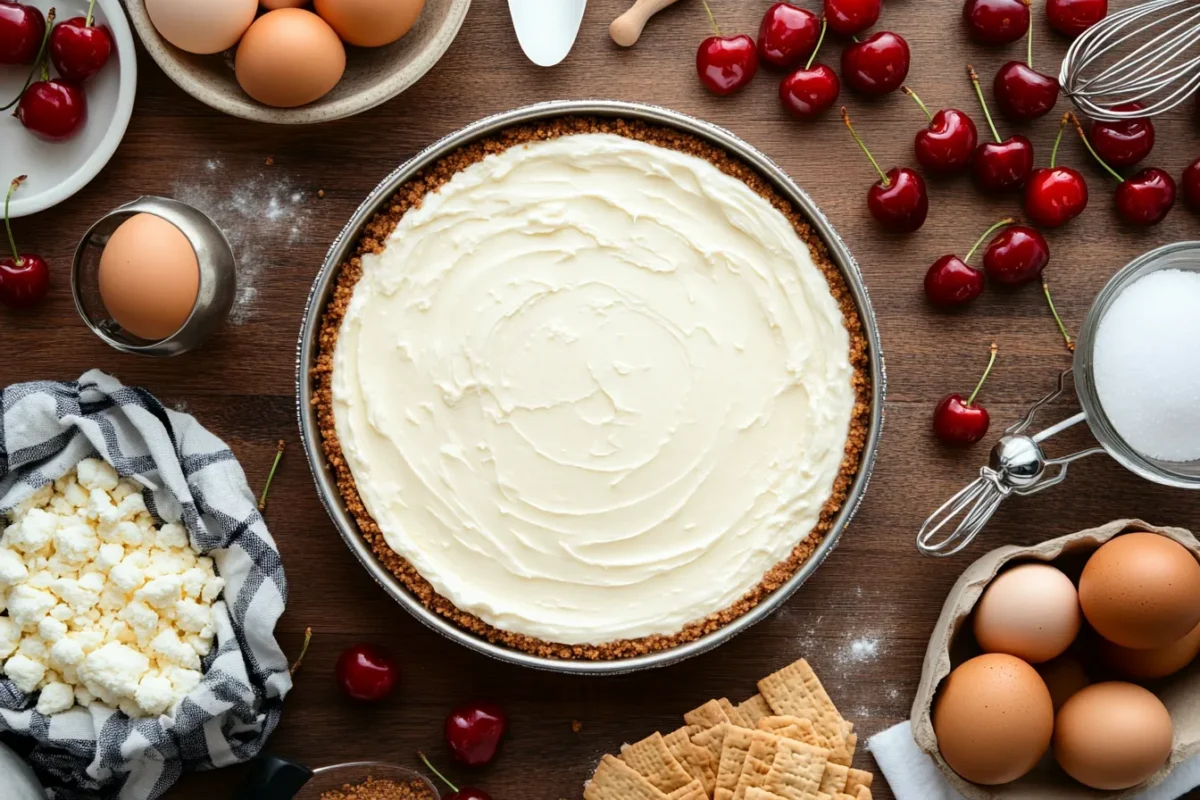
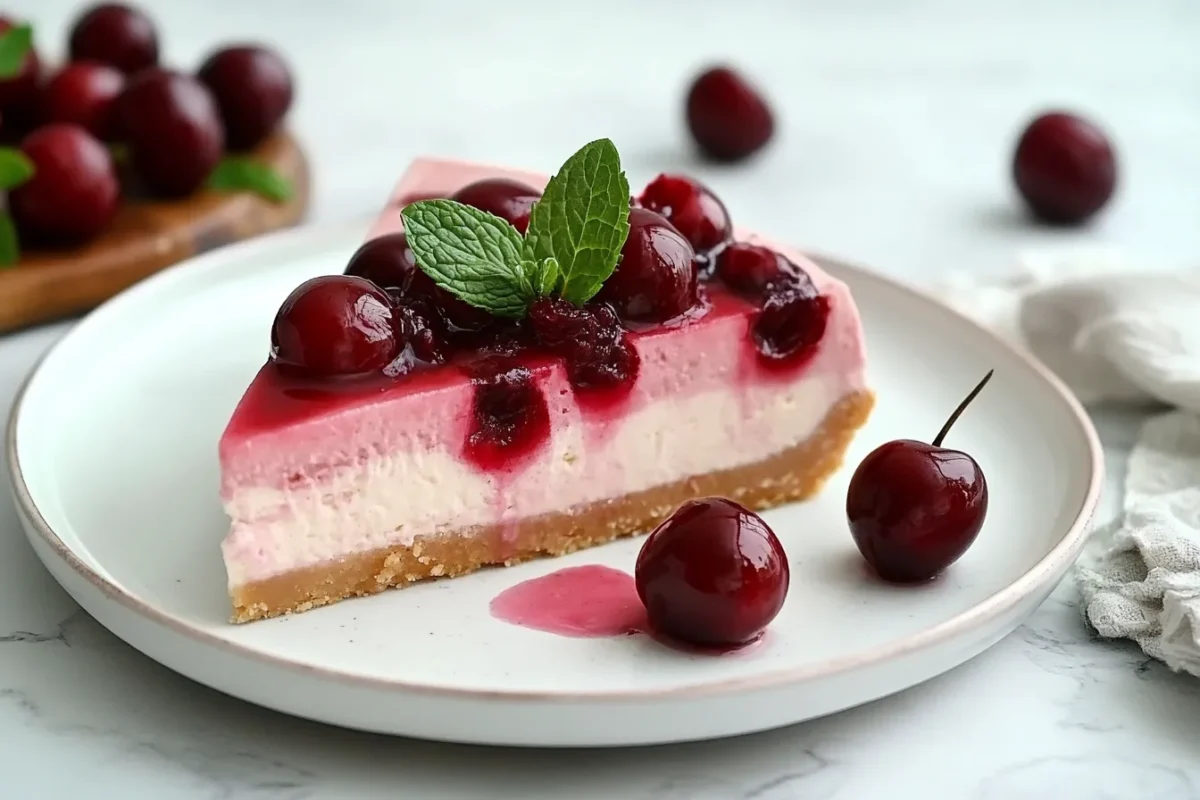
Few desserts can rival the creamy elegance of a perfectly crafted cherry cheesecake. This iconic treat combines the smooth richness of cream cheese with the tangy sweetness of cherry topping. If you’re searching for the ultimate Cherry Cheesecake Recipe, it’s easy to see why this dessert has become a beloved choice worldwide. It graces dinner tables during holidays, celebrations, and cozy nights in. But how did this dessert become a staple, and what makes cherry topping the perfect pairing? Let’s dive into the fascinating history and enduring popularity of this delightful dish.
A Brief History of Cheesecake
Cheesecake has a surprisingly long history, dating back to ancient Greece. Originally served to athletes during the first Olympic Games, cheesecake was a simple blend of cheese, honey, and wheat. As it traveled through centuries and across continents, the recipe evolved. By the 18th century, cream cheese became the cornerstone ingredient, giving rise to the silky texture we cherish today.
The introduction of fruit toppings, particularly cherries, came much later. Initially, fresh and preserved fruits were used to add a touch of sweetness and color. As time passed, cherry cheesecake emerged as a classic variation, adored for its balance of flavors and eye-catching presentation.
Popularity of Cherry Toppings
Cherries bring a vibrant, tangy twist that complements the creamy, slightly tangy filling of cheesecake. Whether you use fresh cherries, canned pie filling, or homemade cherry sauce, this topping elevates the dessert into a show-stopping centerpiece. Beyond taste, cherries offer a pop of color that makes this dessert as visually stunning as it is delicious.
From festive gatherings to quiet evenings at home, the cherry cheesecake recipe effortlessly continues to charm dessert lovers of all ages. Indeed, it’s not just a dessert—it’s an experience, a cherished memory, and, above all, a bite of pure joy.
Understanding the Components
Creating the perfect cherry cheesecake recipe starts with understanding its essential components. Each layer—crust, filling, and topping—plays a vital role in delivering the delicious, cohesive flavor we all love. Whether you’re a baking novice or a seasoned pro, knowing the ingredients’ roles and variations can help you craft a cheesecake that tastes as amazing as it looks.
Ingredients Overview
Every cheesecake begins with three key parts: the base (or crust), the creamy filling, and the luscious cherry topping. Moreover, each element can be easily customized to suit your taste, dietary needs, or creative flair. So, let’s delve into the ingredients that make up each layer.

Crust Ingredients
Graham Cracker Crust
The classic crust for a cheesecake is typically made from crushed graham crackers mixed with melted butter and sugar. Not only does this combination create a firm yet crumbly base, but it also perfectly complements the creamy filling. Additionally, the slightly sweet, toasty flavor of graham crackers remains a tried-and-true favorite among dessert enthusiasts.
Alternative Crust Options
If you’re feeling adventurous, or perhaps need a gluten-free alternative, there are plenty of options to consider. For example, crushed cookies like Oreos or digestive biscuits work beautifully. Additionally, for nut lovers, ground almonds or pecans can add a rich, earthy flavor to the crust. Alternatively, you can even use gluten-free crackers or oats for a wholesome and delicious twist.
Filling Ingredients
Cream Cheese Selection
The filling is the heart of any cheesecake, and the quality of cream cheese you choose matters. Full-fat cream cheese is ideal for its creamy, indulgent texture. Always ensure it’s softened to room temperature before mixing to avoid lumps.
For a unique twist on creamy desserts, you might enjoy trying cottage cheese cookie dough, which offers a fun and healthier way to incorporate creamy ingredients into your treats.
Sweeteners and Flavorings
Sugar is the primary sweetener, though alternatives like honey or maple syrup can be used for a unique touch. Vanilla extract adds warmth and depth to the filling, while a touch of lemon juice or zest provides a subtle tang that balances the richness.
Cherry Topping
Fresh vs. Canned Cherries
When it comes to the cherry topping for a cherry cheesecake recipe, you have two main choices: fresh or canned cherries. Fresh cherries bring a bright, natural taste, but they take more time to prepare. Canned cherries or cherry pie filling are easy to use and offer steady sweetness and texture.
Preparing the Cherry Sauce
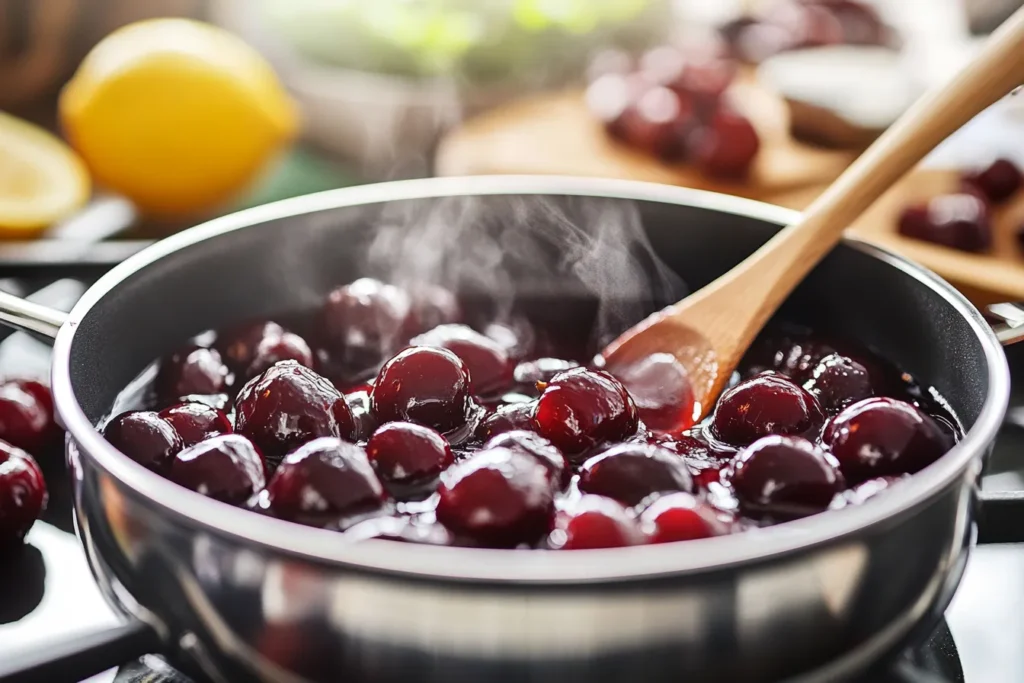
For those who prefer homemade toppings, making cherry sauce is surprisingly simple. Simmer cherries with sugar, a splash of lemon juice, and a touch of cornstarch until thickened. Moreover, this method allows you to control the sweetness and consistency, ultimately ensuring a topping that complements your cherry cheesecake recipe perfectly.
With these ingredients, you’re well on your way to assembling a cheesecake that not only satisfies your sweet tooth but also impresses with its balance of textures and flavors.
Step-by-Step Preparation
Transforming a collection of simple ingredients into a luscious cherry cheesecake is truly a rewarding journey, filled with care, precision, and, most importantly, a touch of creativity.Follow these steps, and you’ll have a dessert that not only tastes amazing but also earns rave reviews from family and friends.
Step 1 : Preparing the Crust
1. Mixing the Ingredients
To start, begin by crushing your graham crackers or chosen alternative into fine crumbs. Next, combine them with melted butter and a little sugar in a mixing bowl to create the perfect base for your cheesecake.The butter binds the crumbs, while the sugar enhances the sweetness, ensuring the crust holds its shape and complements the filling.
2. Pressing into the Pan
Afterward, transfer the crumb mixture to a springform pan, carefully spreading it evenly across the bottom. Then, use the back of a spoon or the flat base of a glass to press it firmly into place. Additionally, don’t forget to create a slight edge along the sides to securely hold the filling.
3. Pre-baking Tips
To ensure a crisp crust that won’t crumble under the weight of the filling, pre-bake it at 350°F (175°C) for about 8-10 minutes. Allow it to cool completely before adding the cheesecake mixture.
Step 2 : Making the Cheesecake Filling
1. Softening the Cream Cheese
Softened cream cheese is key to a smooth, lump-free filling. Leave it at room temperature for 30-60 minutes before starting, or gently warm it in short bursts in the microwave.
2. Combining Ingredients
In a large mixing bowl, beat the cream cheese until fluffy. Gradually add sugar, mixing well after each addition. Incorporate eggs one at a time, followed by vanilla extract and a splash of lemon juice. This step ensures even distribution of flavors and a creamy consistency.
3. Achieving the Right Consistency
Mix just until the ingredients are combined. Overmixing can introduce too much air, leading to cracks during baking. The filling should be thick, smooth, and pourable but not runny.
Step 3 : Assembling the Cheesecake
1. Pouring the Filling over the Crust
Once your crust has cooled, pour the prepared filling into the pan, spreading it evenly. Tap the pan gently on the counter to release any trapped air bubbles.
2. Smoothing the Top
Use a spatula or the back of a spoon to smooth the surface of the filling. A leveled top ensures even baking and a polished final look.
Step 4 : Baking the Cheesecake
1. Optimal Oven Temperature
Bake your cheesecake at 325°F (165°C) for a slow, even cook that prevents browning on top.
2. Water Bath Technique
For a professional touch, use a water bath to create steam in the oven, keeping the cheesecake moist and preventing cracks. Wrap the pan in foil to prevent water from seeping in, then place it in a larger pan filled with hot water.
3. Checking for Doneness
The cheesecake is ready when the edges are set but the center jiggles slightly when shaken. Resist overbaking; carryover heat will finish the cooking process.
Step 5 : Cooling and Chilling
1. Preventing Cracks
Cool the cheesecake gradually by leaving it in the oven with the door slightly ajar for about an hour. This prevents a sudden temperature change, which can cause cracks.
2. Refrigeration Time
Once cooled, refrigerate the cheesecake for at least 4-6 hours or overnight. This step allows the filling to firm up and enhances the overall flavor.
Step 6 : Preparing the Cherry Topping
1. Cooking the Cherry Sauce
To make a homemade cherry sauce, simmer cherries with sugar and a splash of lemon juice until they release their juices. Add cornstarch mixed with water and cook until thickened. Let it cool before spreading over the cheesecake.

2. Adjusting Sweetness and Consistency
Taste the sauce as it cooks and adjust the sugar to your liking. For a thicker sauce, simmer a little longer or add an extra teaspoon of cornstarch.
Step 7 : Final Assembly
1. Spreading the Cherry Topping
Spread the cherry topping evenly over the chilled cheesecake, ensuring every bite will include its tangy-sweet goodness.
2. Garnishing Options
Add a touch of flair with whipped cream swirls, chocolate shavings, or even a sprinkle of crushed nuts. This final touch not only enhances the look but also adds texture and flavor.
Variations and Tips
One of the most exciting aspects of any cherry cheesecake recipe is its versatility. Whether you want to tweak the recipe for a different occasion or experiment with unique flavors, there are endless ways to make this dessert your own. Alongside these variations, mastering a few baking tips ensures your cheesecake turns out perfect every time.
Recipe Variations
No-Bake Cherry Cheesecake
For those who want a quicker or summer-friendly option, a no-bake cherry cheesecake recipe is the answer. Instead of baking, set the crust and filling in the fridge. Use cream cheese, powdered sugar, whipped cream, and vanilla for the filling, and chill until firm. Top with cherries just before serving. It’s an easy yet equally delightful alternative.
Mini Cherry Cheesecakes
Transform your dessert into adorable, individual-sized portions by using a muffin tin lined with cupcake wrappers. Press the crust mixture into the base of each liner, add the filling, and bake for a shorter time (around 20 minutes). Finish with cherry topping for bite-sized treats that are perfect for parties.
Chocolate Cherry Cheesecake
Combine the richness of chocolate with the tangy sweetness of cherries by adding melted chocolate or cocoa powder to your cheesecake filling. For an extra indulgent twist, drizzle chocolate ganache over the cherry topping. It’s a match made in dessert heaven!
Baking Tips for Success
Avoiding Common Mistakes
- Overmixing: Too much air in the batter can lead to cracks. Mix ingredients just until combined.
- Skipping the Water Bath: This technique ensures even baking and prevents a dry texture.
- Not Letting Ingredients Reach Room Temperature: Cold cream cheese or eggs can cause a lumpy filling.
Ensuring a Creamy Texture
- Always use full-fat cream cheese for the richest, creamiest texture.
- Don’t rush the baking process—low and slow is key to achieving a silky finish.
- Allow your cheesecake to chill completely, ideally overnight, for the flavors to meld and the filling to set perfectly.
These variations and tips ensure your cheesecake-making experience is both fun and foolproof. Whether sticking to the classic recipe or trying a new spin, your dessert will surely be a crowd-pleaser.
Serving and Storage
Once your cherry cheesecake is ready, how you serve and store it can make all the difference. Whether presenting it to guests or saving it for later, these tips will ensure it stays fresh, flavorful, and irresistible.
Serving Suggestions
Ideal Serving Temperature
Cherry cheesecake is best served chilled but not too cold. Remove it from the refrigerator about 15–20 minutes before serving to allow the flavors to bloom and the texture to soften slightly. This short waiting time ensures the cream cheese filling is silky smooth and perfectly complemented by the tangy cherry topping.
Pairing with Beverages
Pairing the right drink with cheesecake enhances its flavors. For a light, refreshing option, serve it with iced tea or lemonade. A creamy hot chocolate or robust coffee complements the rich filling, creating a harmonious balance of tastes.
Storage Guidelines
Refrigeration
To keep your cheesecake fresh, cover it tightly with plastic wrap or aluminum foil and store it in the refrigerator. It will stay delicious for up to 4–5 days. Always ensure it’s covered to prevent it from absorbing fridge odors or drying out.
Freezing Leftovers
If you have leftovers (a rare occurrence!), cheesecake freezes beautifully. Slice it into individual portions, wrap each tightly in plastic wrap, and place them in an airtight container. Cheesecake can be frozen for up to 3 months. To enjoy, thaw slices in the refrigerator overnight, and they’ll taste just as delectable as the day you made them.
Proper serving and storage not only preserve the quality of your cheesecake but also allow you to savor it over time, ensuring every slice is as delightful as the first.
Frequently Asked Questions
Even with a well-detailed recipe, questions often arise when making a cherry cheesecake recipe. Let’s address some of the most common queries to ensure your cheesecake turns out perfectly every time.
What is the secret to making good cheesecake?
The secret lies in patience and precision. Use high-quality ingredients like full-fat cream cheese and fresh cherries for the best flavor. Allow your ingredients to come to room temperature for smooth mixing, and avoid overmixing to prevent air bubbles. Baking in a water bath ensures an evenly cooked, creamy texture. Lastly, cool your cheesecake gradually to avoid cracks and chill it thoroughly before serving.
Is sour cream or heavy cream better for cheesecake?
Both can work, but they serve slightly different purposes. Sour cream adds a tangy flavor and softer texture, which balances the sweetness of the filling. Heavy cream, on the other hand, contributes richness and a denser texture. Many recipes combine the two to achieve the perfect balance of flavor and consistency.
Is it better to bake or not bake a cheesecake?
It depends on your preference and the occasion. Baked cheesecakes have a dense, velvety texture and a more complex flavor due to the caramelization that occurs during baking. No-bake cheesecakes are lighter, quicker to prepare, and perfect for hot weather or time constraints.
What does adding an extra egg to cheesecake do?
Eggs act as a binder, helping the cheesecake set as it bakes. Adding an extra egg can make the texture firmer and denser. However, too many eggs can make the cheesecake overly dense or cause it to crack, so it’s important to follow the recipe closely.
Which baking method is best for cheesecake?
The water bath method, or “bain-marie,” is widely regarded as the best technique for baking cheesecake. It creates steam in the oven, keeping the environment moist and preventing the cheesecake from drying out or cracking. This method also ensures even baking for a smooth, creamy result.
Addressing these FAQs ensures you’re well-equipped to handle any challenges while preparing your cheesecake, making the process enjoyable and the results exceptional.
Conclusion
Crafting a cherry cheesecake recipe is a delightful journey that combines precision, creativity, and love. From the buttery crust to the tangy cherry topping, every layer contributes to a dessert that’s as stunning as it is delicious. By following the steps and tips outlined in this guide, you’ll be well on your way to mastering this classic treat.
Whether for a special occasion or an everyday indulgence, cherry cheesecake is more than just dessert—it’s a moment of joy on a plate. So gather your ingredients, take your time, and enjoy the process of creating a masterpiece that will wow anyone lucky enough to have a slice.

